Tax Filing Checklist for Individuals A Step-by-Step 2026
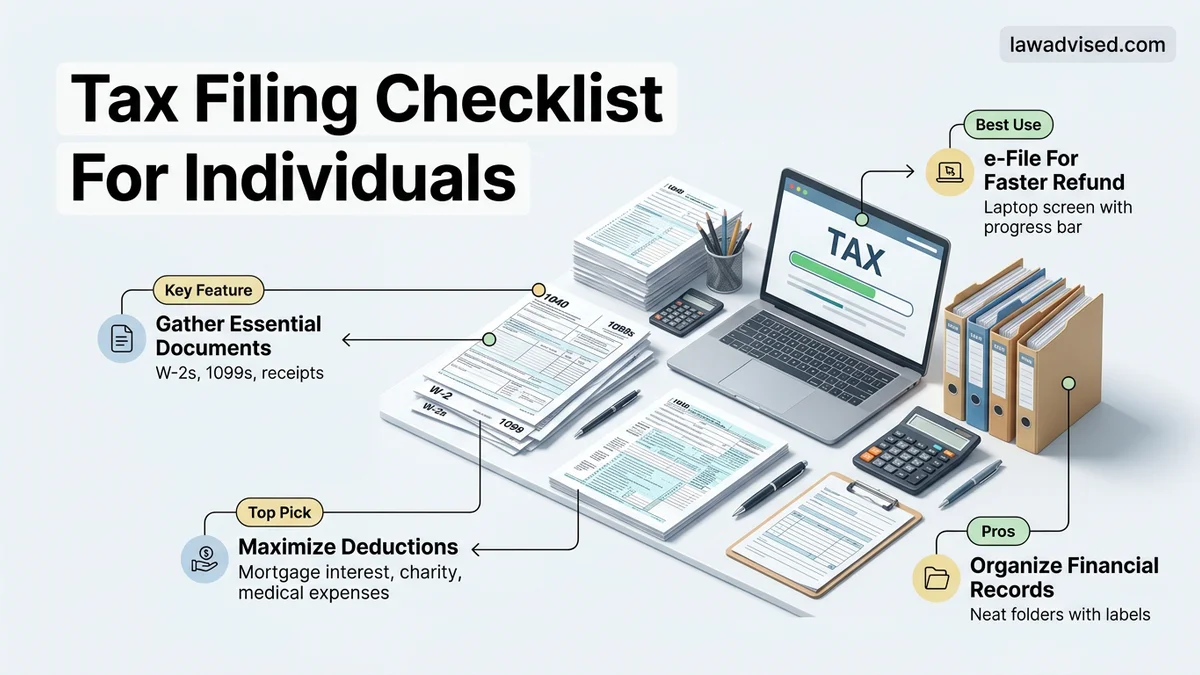
Filing taxes without a plan often leads to missing deductions, delayed refunds, and stressful scrambling for lost documents. This tax filing checklist for individuals helps you systematically gather personal info, income forms, and receipts before you file. Use this step-by-step roadmap to streamline your federal and state tax preparation.
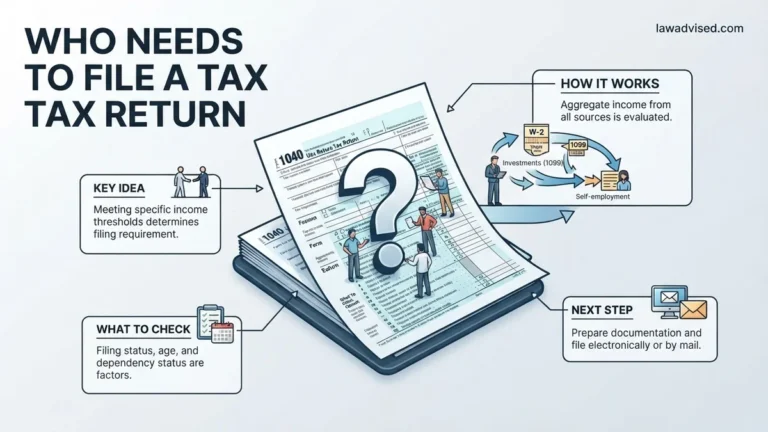
To file your 2026 federal and state income taxes accurately, you need to gather specific documents, forms, and personal details before sitting down to submit your return. Missing a single income statement or deduction form can trigger IRS automated matching notices, leading to delayed refunds or costly processing errors.
This comprehensive checklist walks you through every document you must collect to prepare your 2026 individual tax return successfully. By organizing your paperwork into distinct categories—personal info, income sources, deductions, and investments—you can streamline your filing process and maximize your potential refund.
Key Takeaways
- Gather all W-2s and 1099s before starting your return to avoid calculation errors.
- Keep your Social Security numbers and dependent records handy for identity verification.
- Track charitable donations and medical expenses to maximize your itemized deductions.
- Organize digital and physical tax files in one secure folder for quick access.
- Note the April deadline to submit your federal return or file for an extension.
What Causes Disorganization and Errors During Tax Season
The Paper Chase of Missing Documents
Tax season chaos typically starts when you wait for paperwork to arrive piecemeal throughout January and February. You might receive a W-2 from your employer in early January, but your brokerage 1099 might not arrive until mid-to-late March. Relying on memory instead of a systematic checklist leads to forgotten freelance income, overlooked student loan interest, or missing charitable receipt records that ultimately force you to file an amended return later.
Failing to Verify Personal Information and Identification Numbers
Simple clerical errors cause thousands of tax processing delays every year. Transposing digits in a Social Security Number or failing to update your legal name after a marriage results in immediate rejection by IRS e-file systems. Furthermore, using outdated employer identification numbers from previous tax years on your current forms creates massive reconciliation bottlenecks. Establishing a clean paper trail before you begin data entry is the only reliable way to prevent these administrative hurdles.
Tax Filing Checklist Made Easy: Your Essential Action Plan
Tax season does not have to be an overwhelming ordeal filled with last-minute panic and missing documents. Whether you are filing as a W-2 employee, a freelancer, or juggling multiple income streams, staying organized is the ultimate key to maximizing your refund and minimizing stress. This comprehensive guide walks you through a strategic checklist of every document, form, and verification step required to cross the tax finish line smoothly. By breaking the process down into actionable phases, you will ensure nothing falls through the cracks, allowing you to file accurately and on time.
Step 1: Gather Personal Identification and Information
What you need: Social Security numbers (SSNs) or Individual Taxpayer Identification Numbers (ITINs) for yourself, your spouse, and all dependents, along with a copy of last year’s tax return.
Instructions: Start by collecting the foundational data required by the IRS and state tax agencies. Locate the official Social Security cards or taxpayer ID documents for every member of your household. If you are claiming children or other dependents, make sure you have their accurate dates of birth and exact SSNs ready. Next, dig out a copy of your federal and state tax returns from the previous year. Reviewing last year’s return serves as a helpful mental map, reminding you of recurring deductions, investment accounts, or state-specific credits you might otherwise forget to include this time around.
Pro Tip: Keep a digital or physical folder labeled with the current tax year to immediately store these details as you pull them together.
Step 2: Collect All Income Documents (W-2s and 1099s)
What you need: Form W-2 for traditional employment, various Form 1099s for freelance, contract, or investment income, and records of any miscellaneous earnings.
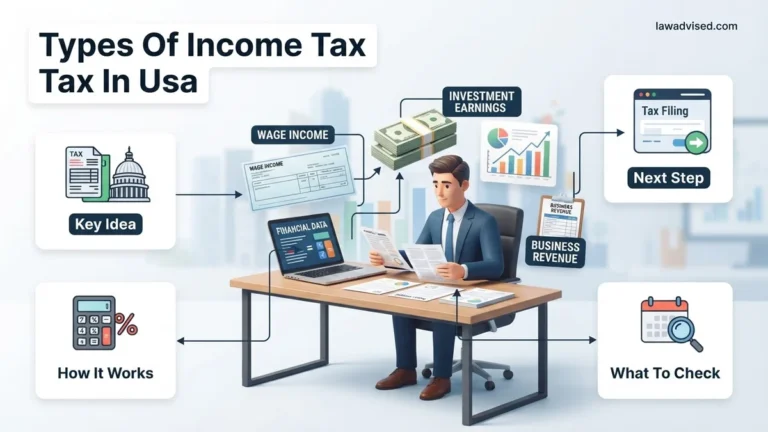
Instructions: Compile every document that reflects money you earned over the past calendar year. If you worked a traditional job, employers are legally required to issue a Form W-2 by January 31st. If you engaged in freelance work, gig economy driving, or consulting, look out for Form 1099-NEC or 1099-MISC. Investors and crypto traders must also gather Form 1099-INT for interest, 1099-DIV for dividends, and brokerage statements for capital gains or losses. Do not overlook side hustles or cash income; the IRS requires you to report all earnings, even if you did not receive a formal informational slip from the payer.
Pro Tip: Log into your employer portals and online contractor dashboards early to download PDF versions, ensuring you do not rely solely on slow-arriving mail.
Step 3: Compile Deductions and Tax Credit Records
What you need: Receipts, statements, and official forms related to student loans, medical expenses, childcare, and educator costs.
Instructions: This is where you actively work to lower your taxable liability. If you paid interest on qualified education loans, grab your Form 1098-E. Parents should collect daycare or preschool statements displaying the provider’s Employer Identification Number (EIN) to claim the Child and Dependent Care Credit. If you itemize deductions instead of taking the standard deduction, gather documentation for mortgage interest (Form 1098), real estate property taxes, charitable donation receipts, and heavy out-of-pocket medical bills that exceed 7.5 percent of your adjusted gross income. Take time to sort these neatly so you can easily determine whether itemizing or taking the standard deduction benefits you more.
Pro Tip: Only charitable donations made to IRS-recognized 501(c)(3) organizations are legally tax-deductible, so double-check your receipt organizations.
Step 4: Check for Retirement and Health Savings Contributions
What you need: Form 5498-SA for Health Savings Accounts (HSAs), IRA contribution confirmation statements, and employer retirement plan summaries.
Instructions: Review your contributions toward tax-advantaged accounts, as these can drastically lower your adjusted gross income. If you contributed to a traditional Individual Retirement Arrangement (IRA) outside of an employer-sponsored plan, locate your contribution records to see if you qualify for a deduction. Individuals with a High-Deductible Health Plan (HDHP) who funded an HSA should gather their year-end statements and Form 1099-SA if they took distributions. Additionally, if you made pre-tax or Roth contributions to a 401(k) or 403(b), these figures will generally be reflected directly on your W-2 form, but it is always wise to cross-reference them with your final December pay stub.
Pro Tip: Remember that you often have until the official April tax filing deadline to make contributions to an IRA for the previous tax year.
Step 5: Verify Homeownership and Real Estate Documents
What you need: Form 1098 (Mortgage Interest Statement), property tax bills, and records of energy-efficient home improvements.
Instructions: Owning a home unlocks several valuable tax breaks that require careful documentation. Look for your Form 1098 sent by your mortgage lender, which outlines the exact amount of mortgage interest and points you paid over the year. Next, pull your local county property tax receipts, as these are often deductible under state and local taxes (SALT), subject to current legislative limits. If you invested in green energy upgrades—such as solar panels, energy-efficient heat pumps, or upgraded insulation—pull the installation receipts and manufacturer certificates to claim the Residential Clean Energy Credit.
Pro Tip: If you refinanced your mortgage during the past year, you may receive two separate Form 1098 statements from different lenders; make sure you account for both.
Step 6: Account for Freelance Business Expenses
What you need: Profit and loss statements, software subscription receipts, mileage logs, and home office expense calculations.
Instructions: If you operate as a sole proprietor, independent contractor, or small business owner, you need to substantiate your business deductions to offset your 1099 income. Gather your digital or paper ledgers showing gross income and itemized business expenses. Common deductions include professional software, marketing costs, web hosting, specialized tools, and business travel. If you drove a personal vehicle for work, compile your detailed mileage log showing dates, business purposes, and total miles driven. For those who work from home, calculate your dedicated office square footage relative to your total home footprint to accurately claim the home office deduction.
Pro Tip: Never mix personal and business purchases on the same receipt; maintaining a dedicated business bank account simplifies this step completely.
Step 7: Input Data and Complete Your Return
What you need: Tax preparation software or a licensed CPA, direct deposit banking information, and your gathered checklist documents.
Instructions: With your documents neatly organized, it is time to input the data into your chosen tax preparation software or hand the packet over to your accountant. Enter your personal details, input every W-2 and 1099 line-by-line, and carefully transcribe your deduction numbers. Double-check that your routing and account numbers are entered correctly if you are expecting a direct deposit or owe a balance, as typos will significantly delay processing times. Review the summary page generated by the software to ensure your income matches your documents and that no credits were accidentally skipped.
Pro Tip: Opt to file electronically (e-file) and select direct deposit; this combination remains the absolute fastest way to receive your refund from the IRS.
✅ Final Checklist
- Verified that all W-2s, 1099s, and income forms are accounted for and matched against IRS transcripts.
- Double-checked social security numbers and dates of birth for all household members.
- Confirmed bank routing and account numbers for secure direct deposit of your refund.
- Saved a complete digital or printed copy of your final submitted tax return and supporting receipts for your personal records.
- Verified whether you owe a balance or are receiving a refund, and scheduled payments if necessary.
Important Notes:
- Always keep copies of your tax returns and supporting documents for at least three to seven years in case of an IRS audit.
- Seek professional help from a Certified Public Accountant (CPA) or Enrolled Agent (EA) if you experience complex life events such as international investments, multi-state business operations, or complicated estate inheritances.
- Estimated time to complete this entire checklist ranges from 2 to 4 hours depending on the complexity of your financial situation, with software or professional preparation costs varying between $0 for basic free-file options to $300+ for advanced itemized returns.
How to Fix Your Tax Prep with a Step-by-Step Filing Checklist
Phase 1: Gathering Personal Information and Identification
Your tax return requires absolute precision regarding identity and household composition. Before opening tax software or meeting with a CPA, assemble these foundational verification documents for the 2026 tax year:
- Social Security Numbers or ITINs: Collect these for yourself, your spouse, and all legal dependents.
- Identity Protection PINs: Retrieve the 6-digit IP PINs issued by the IRS for you or your dependents if you have previously enrolled in identity theft protection programs.
- Direct Deposit Information: Keep a voided check or your bank routing and account numbers handy to ensure your refund lands in the correct account.
- Prior Year Tax Return: Keep a copy of your 2025 federal and state returns accessible to reference your Adjusted Gross Income (AGI), which tax software requires for identity verification.
Phase 2: Compiling Your Income Documents
Every dollar you earned during the tax year must be accounted for on your return. Watch your mail and online portals for these primary income forms:
- Form W-2: Issued by employers, detailing your annual wages and federal or state tax withholding amounts.
- Form 1099-NEC and 1099-MISC: Reports non-employee compensation, freelance earnings, or miscellaneous income for independent contractors.
- Form 1099-INT and 1099-DIV: Details taxable interest earned from bank accounts and dividend income distributed from stock holdings.
- Form 1099-B: Summarizes proceeds from broker transactions when you sold stocks, bonds, or other capital assets.
- Form SSA-1099: Reports Social Security benefit distributions received during the tax year.
Step 1 — Gather Personal Information and Identification Documents
Before touching any financial software for the 2026 tax season, you must assemble your core identification files. According to the IRS, filing without accurate personal data causes immediate electronic rejection or manual processing delays lasting up to 45 days. Proper preparation protects your identity and ensures your refund arrives without administrative holds.
Essential Verification Records
- Locate official Social Security cards or Individual Taxpayer Identification Number (ITIN) letters for yourself, your spouse, and all listed dependents.
- Retrieve a copy of your prior-year 2025 federal and state tax returns to reference your adjusted gross income (AGI) and identity protection PINs.
- Keep a government-issued photo ID, such as a driver’s license or passport, nearby for identity verification procedures required by most 2026 e-filing portals.
- Confirm that all dependent birth dates and identification numbers match the official Social Security Administration database exactly.
Step 2 — Collect Income Forms Like W-2s and 1099s
Your tax return must reconcile every dollar earned during the previous calendar year. Employers and financial institutions are legally mandated to issue income statements by January 31, 2026. Failing to report a single minor 1099 form triggers automated IRS matching notices, leading to proposed tax adjustments and potential penalties.
Comprehensive Income Documentation
- Gather Form W-2 from every employer you worked for throughout the 2026 tax year to verify total wages and withholdings.
- Collect Form 1099 variants, including 1099-NEC for independent contractor work, 1099-DIV for dividends, and 1099-INT for bank interest earnings.
- Download digital 1099-K forms if you received payments through third-party settlement networks or digital merchant platforms meeting the current IRS reporting thresholds.
- Compile documentation for alternative revenue streams, such as cryptocurrency transactions, unemployment benefits, or retirement plan distributions.
What If It Still Doesn’t Work?
Even with a meticulous checklist, complex tax situations or persistent software rejections can stall your filing progress for 2026. When standard DIY methods fall short, structured fallback strategies protect you from missing statutory deadlines.
- Double-check all numerical entries against physical source documents to isolate typographical errors causing electronic validation failures.
- Request an official IRS Wage and Income Transcript online to verify that the government has the exact data you are attempting to input.
- File for an automatic six-month tax extension using IRS Form 4868 before the April deadline to avoid late-filing penalties while resolving discrepancies.
- Seek assistance from a certified public accountant (CPA) or Enrolled Agent (EA) if your situation involves multi-state income or complex asset sales. Professional tax preparation services typically cost between $250 and $800 depending on complexity.
Conclusion
Navigating the 2026 tax season requires absolute precision, organized documentation, and a systematic approach to gathering personal and financial records. According to verified research and expert financial sources, proactive preparation eliminates costly filing errors and accelerates the delivery of your refund. Your immediate actionable next step is to create a dedicated digital folder today, populating it with your prior-year return and incoming 2026 income statements before sitting down to file.
❓ Frequently Asked Questions
What specific personal information is required on a tax filing checklist?
You will need your full legal name, current address, Social Security numbers or Individual Taxpayer Identification Numbers (ITINs) for yourself, your spouse, and any dependents. Having your prior year adjusted gross income (AGI) is also essential for identity verification when e-filing.
How do I categorize different types of income for my tax return?
Income is typically split into earned income (wages from W-2s, self-employment earnings from 1099s) and unearned income (dividends, capital gains, interest from 1099-INT, and retirement distributions). Each category requires specific forms to report accurately.
What deduction and credit documents should I include in my tax folder?
Key deduction records include Form 1098 for mortgage interest, Form 1098-E for student loan interest, receipts for charitable donations, and medical expense receipts if you plan to itemize. Education credits require Form 1098-T from eligible institutions.
What should I do if my employer or bank issues an incorrect tax form?
Contact the issuer immediately to request a corrected document, often labeled as a ‘corrected’ or ‘amended’ form. Waiting for the correct form prevents the need to file an amended tax return later.
How many years of past tax returns and documents should I keep?
The IRS generally recommends keeping tax returns and supporting documentation for at least three years from the date you filed. However, keeping records for up to seven years is safer if you claim deductions for worthless securities or bad debt.
Is it better to file my taxes electronically or by mail?
Filing electronically (e-filing) is significantly faster, provides a confirmation of receipt, and usually results in much quicker refunds compared to paper filing by mail.

Ismail Hossain is the founder of Law Advised. He is an Divorce, Separation, marriage lawyer. Follow him.