Tax Filing Process Explained Step-by-Step Guide for 2026
Navigating the tax filing process can feel overwhelming, but breaking it down into chronological steps makes it manageable. This guide covers everything from gathering your vital documents to choosing a filing method and handling your refund or tax balance.
Filing your taxes for the 2026 tax season comes down to a structured six-stage workflow: gathering your income documents, selecting a filing method, filling out your return, reviewing it for accuracy, submitting it to the IRS, and finally, either receiving your refund or paying your remaining balance. If you follow this chronological roadmap, you can eliminate the anxiety and guesswork from tax season.
Every year, millions of taxpayers lose money or face processing delays simply because they jump into their tax returns without a plan. Knowing each phase of the journey helps you avoid common compliance traps, secure every dollar you are owed, and ensure your submission clears the IRS system smoothly.
Key Takeaways
- Gather all W-2s, 1099s, and tax documents before starting your return.
- Choose a filing method that matches your budget and complexity, such as DIY software or a CPA.
- Double-check all Social Security numbers and financial data to prevent processing delays.
- File electronically to speed up processing and receive your refund much faster.
- Set up a payment plan with the IRS immediately if you owe money you cannot pay.
What Causes Confusion in the Tax Filing Process — Understanding Your Responsibilities
The Paperwork Maze and Document Overload
The single biggest hurdle for most filers is knowing which documents to collect. If you receive forms halfway through March, you have to scramble to update your math. For the 2026 filing season, you must track forms like W-2s from employers, 1099s for freelance or gig work, and 1098s for mortgage interest. Missing even a single interest statement from your bank can trigger an automated IRS notice later.
-
Checklist for early preparation:
- Income statements from all employment sources through December 31, 2025.
- Investment and brokerage reports (Form 1099-B, 1099-DIV).
- Health insurance documentation (Form 1095-A if using the Marketplace).
Choosing the Right Filing Method Without Overpaying
Confusion also stems from how many options exist to actually file your taxes. You can use DIY tax software, utilize IRS Free File programs, or hire a Certified Public Accountant (CPA). Picking the wrong method usually results in overpaying for unnecessary software upgrades or wasting hours trying to file manually when your situation requires professional insight.
-
How to match your situation to a method:
- DIY Software: Best if you have a W-2 job and a standard savings account.
- IRS Free File: Ideal if your adjusted gross income falls below the annual threshold.
- CPA or Tax Professional: Necessary if you own a small business, manage complex rental properties, or experienced major life changes in 2026.
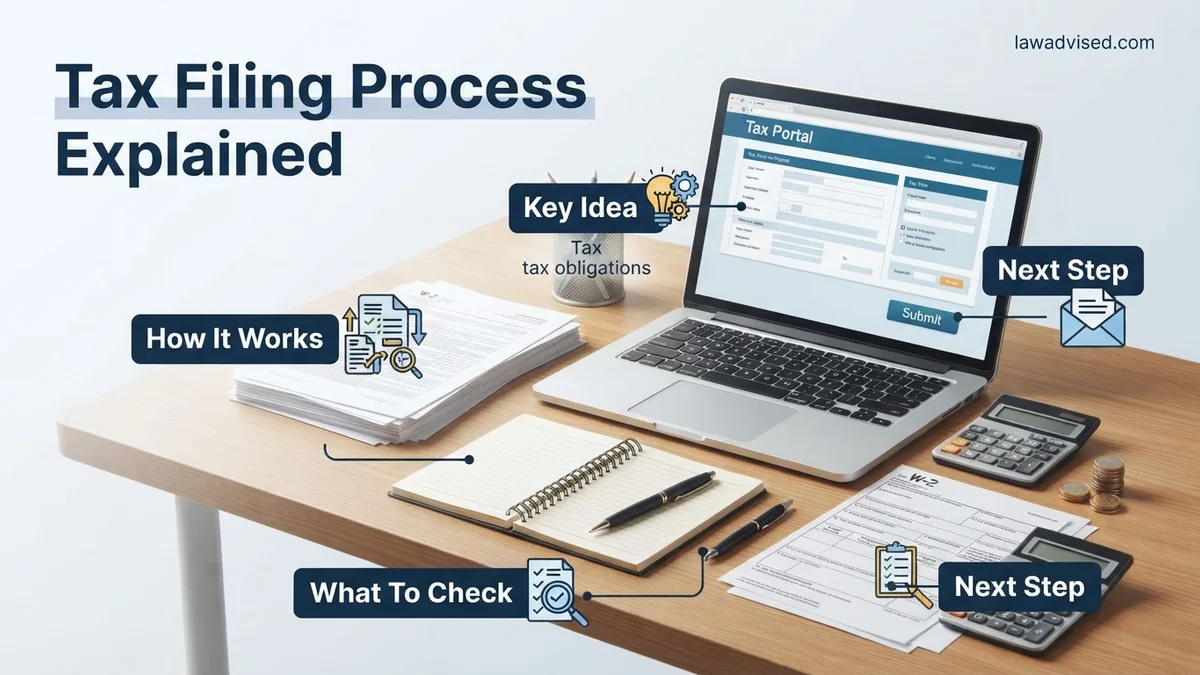
From Start to Finish: Tax Filing Process Explained
Filing your taxes does not have to be a stressful or confusing ordeal. Whether you are a first-time filer or looking to streamline your annual financial routine, understanding the exact progression of tax preparation is vital. This guide walks you through the entire journey, from gathering initial paperwork to submitting your return accurately and on time, ensuring you claim every credit you deserve while avoiding costly audits.
Step 1: Gather Your Tax Documents and Records
What you need: A folder or digital scanner, previous year’s tax return, social security numbers for all dependents, and income statements.
Instructions: Before you even look at a tax form, you must collect all relevant financial documentation. This includes W-2 forms from employers, 1099 forms for freelance or contract work, 1098 forms for mortgage interest, and statements for any investment dividends or bank interest earned. Missing a single document can lead to processing delays or an amended return later. Organize everything chronologically and check them against your previous year’s return to ensure no recurring income sources or deductions have been overlooked.
Pro Tip: Create a dedicated digital folder on your computer and scan physical papers immediately to prevent misplacing vital forms.
Step 2: Determine Your Filing Status
What you need: Your marital status as of December 31st of the tax year and details regarding household expenses.
Instructions: Your filing status dictates your tax bracket, standard deduction amount, and eligibility for specific credits. The five possible statuses are Single, Married Filing Jointly, Married Filing Separately, Head of Household, and Qualifying Widow(er). Choosing the correct status is critical. For example, if you are unmarried, pay more than half the cost of keeping up a home, and have a qualifying dependent, filing as Head of Household offers a much higher standard deduction than filing as Single.
Pro Tip: If you recently married or divorced, ensure your legal name matches your Social Security card to prevent processing halts.
Step 3: Choose How You Want to File
What you need: Your budget, comfort level with technology, and complexity of your financial situation.
Instructions: You have three main avenues for filing your taxes: using commercial tax software, hiring a Certified Public Accountant (CPA) or enrolled agent, or using IRS Free File if your adjusted gross income falls below the annual threshold. If you have a straightforward W-2 income, software is usually fast and cost-effective. However, if you own a small business, have complex rental properties, or experienced major life changes, hiring a human tax professional is often worth the investment to uncover specialized deductions.
Pro Tip: Many reputable online software providers offer free federal filing for simple returns, but always double-check hidden state filing fees before committing.
Step 4: Report All Sources of Income
What you need: All collected W-2s, 1099s, K-1s, and records of any miscellaneous income.
Instructions: Carefully input every dollar earned into your chosen tax preparation software or provide the documents to your accountant. This includes traditional employment wages, self-employment income, unemployment benefits, retirement distributions, and capital gains from selling stocks or real estate. Even if you did not receive a formal 1099 form for gig work or side hustles under a certain threshold, the IRS legally requires you to report all earnings. Failing to report income is one of the fastest ways to trigger an automated IRS notice.
Pro Tip: Double-check employer identification numbers (EINs) and box numbers when manually typing data to eliminate typos.
Step 5: Claim Deductions and Tax Credits
What you need: Receipts and documentation for charitable donations, educational expenses, medical bills, and childcare costs.
Instructions: This is where you actively lower your tax liability. Decide whether to take the Standard Deduction or Itemize your deductions. For most people, the standard deduction is higher and simpler to claim. Next, scan for valuable tax credits, such as the Child Tax Credit, Earned Income Tax Credit (EITC), or education credits like the Lifetime Learning Credit. Unlike deductions that lower your taxable income, tax credits reduce your tax bill dollar-for-dollar, making them exceptionally valuable.
Pro Tip: Keep receipts for out-of-pocket charitable contributions and medical expenses for at least three years in case of an audit.
Step 6: Review, Calculate, and Finalize
What you need: Completed tax draft, calculator, and personal identification numbers (IP PIN if applicable).
Instructions: Before submitting, perform a meticulous review of the entire tax return. Verify that all Social Security numbers are completely accurate, mailing addresses are current, and banking routing numbers for direct deposit are error-free. Look over the final calculation to see if you are receiving a refund or owe a balance. If you owe money, ensure you have a payment plan ready. If you are getting a refund, verify that your direct deposit details are correct to receive your money in the fastest timeframe possible.
Pro Tip: Print out a physical or PDF copy of your final submitted return and store it securely with your supporting documents.
Step 7: File Your Return and Submit Payment (or Track Refund)
What you need: Electronic filing PIN or signature, and bank account information if paying taxes owed.
Instructions: Transmit your return electronically (e-file) for the fastest processing times and immediate confirmation of receipt. If you are mailing a paper return, ensure it is postmarked by the official tax deadline and sent via certified mail with tracking. If you owe taxes, submit your payment simultaneously using the IRS Direct Pay system or via your tax software to avoid late-filing and late-payment penalties. If you are expecting a refund, use the official IRS “Where’s My Refund?” tool after 24 hours to monitor its status.
Pro Tip: E-filing combined with direct deposit is universally recognized as the most secure and rapid way to handle your annual taxes.
✅ Final Checklist
- All W-2, 1099, and income documents have been fully accounted for and reported.
- Filing status and dependent information are correct and match Social Security records.
- Direct deposit banking numbers (routing and account) have been verified twice.
- A signed copy of the final tax return has been saved for personal records.
- Federal and state returns have been successfully transmitted or mailed.
Important Notes:
- Always file your return on time—even if you cannot afford to pay your tax bill—to avoid steep failure-to-file penalties.
- Seek professional help immediately if you face complex international tax situations, inheritance issues, or IRS audit notices.
- Estimated time to complete: 2 to 5 hours depending on complexity. Estimated cost: Free to $150+ for software, or $250 to $700+ for a CPA.
How to Fix and Navigate the Tax Filing Process — A Step-by-Step Guide
Steps 1 through 3: Gathering, Choosing, and Completing Your Return
To fix the chaotic approach most people take, start by establishing a single folder—digital or physical—for all incoming tax documents. Once you verify that you have every W-2 and 1099, select your filing software or professional based on the complexity of your finances. Step three involves entering your data into the chosen platform.
- Gather: Collect all income documents, receipts, and deduction notices by late January.
- Choose: Pick your filing tool, whether it is an online platform or a local tax office.
- Complete: Input your personal identification details, Social Security numbers, and income figures carefully.
Steps 4 through 6: Reviewing, Submitting, and Finalizing Your Taxes
Never click submit without a thorough final review. Typos in your bank routing number will delay your direct deposit by weeks. Once you review the return for missing numbers or mismatched names, submit it electronically (e-file) for the fastest processing times in 2026.
- Review: Double-check math, routing numbers, and spelling against your actual documents.
- Submit: Transmit your return electronically to the IRS and state tax agencies.
- Resolve: Track your refund status online, or pay any owed balance before the April deadline to avoid penalties.
How to Choose the Right Filing Method for Your Situation
Selecting the correct filing method depends entirely on your financial complexity, your comfort with software, and your budget for tax preparation services. According to IRS data analytics, over 70 percent of taxpayers utilize electronic filing software, while the remainder rely on professional CPAs or IRS Free File options.
Assessing Your Financial Complexity
If you earned income solely through a standard W-2 form, have minimal interest income, and take the standard deduction, free online software or the IRS Free File program provides an adequate solution. However, individuals juggling multiple income streams, rental properties, cryptocurrency transactions, or small business expenses require advanced software tiers or certified professional guidance.
Evaluating Professional Help Versus DIY Software
Hiring a certified public accountant (CPA) or enrolled agent ensures maximum accuracy for complex returns involving multi-state income or intricate business deductions. According to the National Society of Accountants, the average cost for a professional to prepare a federal and state return with itemized deductions ranges from 300 to 500 dollars. Conversely, premium commercial tax software packages typically cost between 40 and 120 dollars, placing the responsibility of data entry and rule interpretation directly on the taxpayer.
What If It Still Doesn’t Work?
Even with advanced tax software, electronic returns occasionally face rejections from the IRS due to mismatched Social Security numbers, duplicate dependent claims, or rejected Identity Protection PINs. If your electronic return is rejected or your refund is delayed, follow these sequential recovery steps:
- Review the IRS Rejection Code: Identify the specific error code provided in your software notification or IRS rejection notice, as this code pinpoints the exact data field requiring correction.
- Correct the Data Mismatch: Log back into your filing software, update the incorrect information—such as a transposed digit in an Employer Identification Number or a misspelled dependent name—and resubmit the return electronically at no additional charge.
- Print and Mail as a Last Resort: If electronic resubmission fails repeatedly due to system glitches or identity verification locks, print your complete tax return, sign it manually, and mail it via certified mail to the appropriate IRS processing center.
- Engage a Licensed Tax Professional: If you face an official IRS audit notice, severe calculation discrepancies, or unresolved debt issues, retain a licensed CPA, Enrolled Agent, or tax attorney. Professional representation fees vary widely, but hourly rates generally range from 150 to 300 dollars depending on geographic region and case complexity.
Conclusion
Navigating the tax filing process for the 2026 tax season requires careful organization, accurate document collection, and the selection of an appropriate filing method to prevent costly delays. By following structured digital workflows and addressing IRS rejection codes immediately, taxpayers can secure their maximum eligible refund efficiently. According to verified research and expert sources from the Internal Revenue Service and the National Society of Accountants, utilizing electronic filing combined with direct deposit remains the single most effective way to eliminate processing errors and accelerate refund delivery. Your actionable next step is to log into your chosen tax software platform or gather your definitive W-2 and 1099 forms today to begin your filing journey.
❓ Frequently Asked Questions
What documents do I need to prepare before starting my tax return?
You will need personal identification like Social Security numbers, income statements such as W-2s and 1099s, records of any deductions or credits, and previous year tax returns for reference.
How does IRS Free File work for taxpayers?
IRS Free File allows eligible taxpayers whose adjusted gross income is below a specific threshold to use brand-name tax preparation software completely free of charge.
What is the difference between filing electronically and filing by paper?
Filing electronically (e-filing) is faster, more accurate due to built-in software checks, and results in much quicker refund times compared to mailing a paper return.
What should I do if my tax return is rejected by the IRS?
If your return is rejected, the e-file software will provide an error code. Correct the specific mistake, such as a typo in a Social Security number, and resubmit the return.
How can I track the status of my tax refund after submitting?
You can use the official ‘Where’s My Refund?’ tool on the IRS website or the IRS2Go mobile app to check your refund status 24 hours after e-filing.
Is it possible to get an extension to file my taxes?
Yes, you can request an automatic six-month tax-filing extension by filing Form 4868 by the April deadline, though this only extends the time to file, not the time to pay any owed taxes.

Ismail Hossain is the founder of Law Advised. He is an Divorce, Separation, marriage lawyer. Follow him.